- HOME
- SEAT
SEAT
テーブル

テーブル
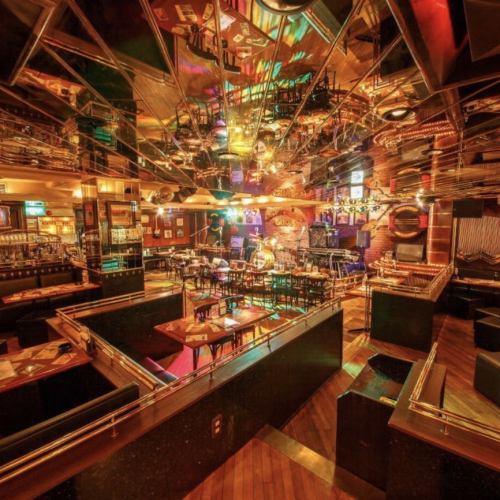
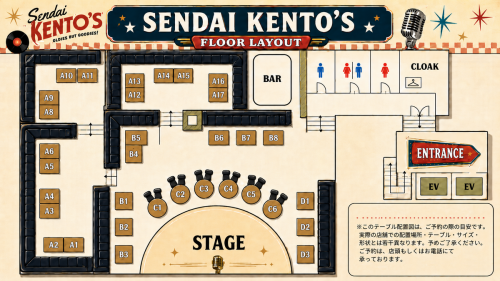
Floor layout
1/10
![[A1, A2, A3, A4]](https://cdn.r-corona.jp/prd.rb.r-corona.jp/assets/site_files/6r7yo8yf/4927608/ic2x_w320h320.jpg)
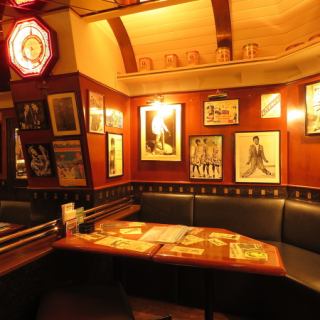
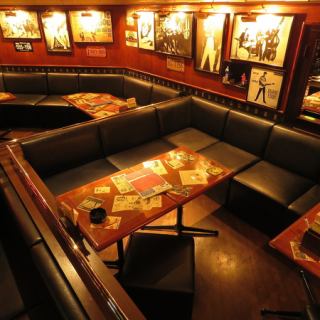
テーブル 4名様 × 2
[A1, A2, A3, A4]
1/10
![[A1, A2, A3, A4]](https://cdn.r-corona.jp/prd.rb.r-corona.jp/assets/site_files/6r7yo8yf/4927608/ic2x_w500h500.jpg)
![[B6. B7. B8]](https://cdn.r-corona.jp/prd.rb.r-corona.jp/assets/site_files/6r7yo8yf/4927610/zlbq_w320h320.jpg)
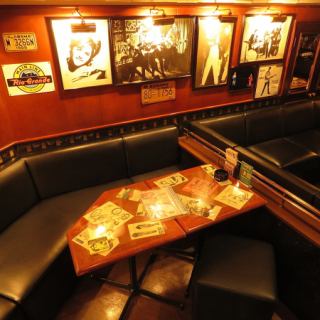
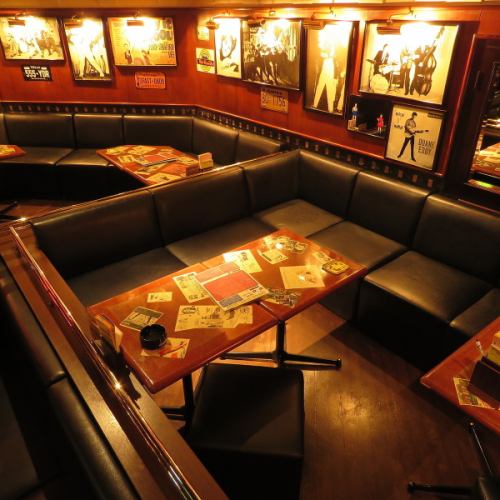
テーブル 2名様 × 3
[B6. B7. B8]
1/10
![[B6. B7. B8]](https://cdn.r-corona.jp/prd.rb.r-corona.jp/assets/site_files/6r7yo8yf/4927610/zlbq_w500h500.jpg)
テーブル 6名様 × 1
【A8.A9】
1/10

テーブル 6名様 × 1
【A10.A11】
1/10

![[A1, A2, A3, A4]](https://cdn.r-corona.jp/prd.rb.r-corona.jp/assets/site_files/6r7yo8yf/4927614/6v8q_w320h320.jpg)
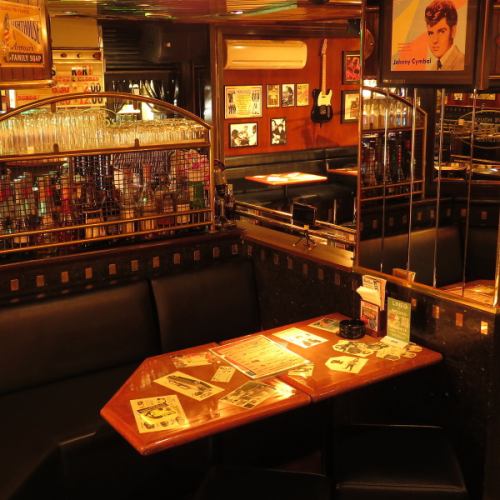
テーブル 4名様 × 2
[A1, A2, A3, A4]
1/10
![[A1, A2, A3, A4]](https://cdn.r-corona.jp/prd.rb.r-corona.jp/assets/site_files/6r7yo8yf/4927614/6v8q_w500h500.jpg)
テーブル 6名様 × 1
【A12.A13】
1/10
![[B4.B5]](https://cdn.r-corona.jp/prd.rb.r-corona.jp/assets/site_files/6r7yo8yf/4927616/g05v_w320h320.jpg)
テーブル 6名様 × 1
[B4.B5]
1/10
![[B4.B5]](https://cdn.r-corona.jp/prd.rb.r-corona.jp/assets/site_files/6r7yo8yf/4927616/g05v_w500h500.jpg)

テーブル 4名様 × 1
【A16.A17】
1/10
![[A12.A13.A14.A15.A16.A17]](https://cdn.r-corona.jp/prd.rb.r-corona.jp/assets/site_files/6r7yo8yf/4927619/5v0w_w320h320.jpg)
テーブル 4名様 × 3
[A12.A13.A14.A15.A16.A17]
1/10
![[A12.A13.A14.A15.A16.A17]](https://cdn.r-corona.jp/prd.rb.r-corona.jp/assets/site_files/6r7yo8yf/4927619/5v0w_w500h500.jpg)
![[A3.A4]](https://cdn.r-corona.jp/prd.rb.r-corona.jp/assets/site_files/6r7yo8yf/4927620/lyo1_w320h320.jpg)
テーブル 4名様 × 1
[A3.A4]
1/10
![[A3.A4]](https://cdn.r-corona.jp/prd.rb.r-corona.jp/assets/site_files/6r7yo8yf/4927620/lyo1_w500h500.jpg)
![[A6]](https://cdn.r-corona.jp/prd.rb.r-corona.jp/assets/site_files/6r7yo8yf/4927621/1hag_w320h320.jpg)
テーブル 4名様 × 1
[A6]
1/10
![[A6]](https://cdn.r-corona.jp/prd.rb.r-corona.jp/assets/site_files/6r7yo8yf/4927621/1hag_w500h500.jpg)
![[B1.B2.B3]](https://cdn.r-corona.jp/prd.rb.r-corona.jp/assets/site_files/6r7yo8yf/4927622/rm25_w320h320.jpg)
テーブル 2名様 × 3
[B1.B2.B3]
1/10
![[B1.B2.B3]](https://cdn.r-corona.jp/prd.rb.r-corona.jp/assets/site_files/6r7yo8yf/4927622/rm25_w500h500.jpg)
貸切

貸切 100名様 × 1
- 人数
着席のみ
-
1/10